User Tools
Table of Contents
1. First Steps
1.1 Start the client and log in to Teamcenter
After installing Teamcenter, the shortcuts to start the client are located in the folder “c:\splmlocal\int00\appl\Shortcuts” (integration environments) or “c:\splmlocal\prod00\appl\Shortcuts” in the production environment. The client is available in English and German. There is also a shortcut for the locations Germany (DE), Hungary (HU) and USA (US), because there are local servers for the Teamcenter and NX configurations.

Copy the desired shortcut to your desktop, in this example the client is in English, which uses the configuration in Germany.
Double-click to start the client.
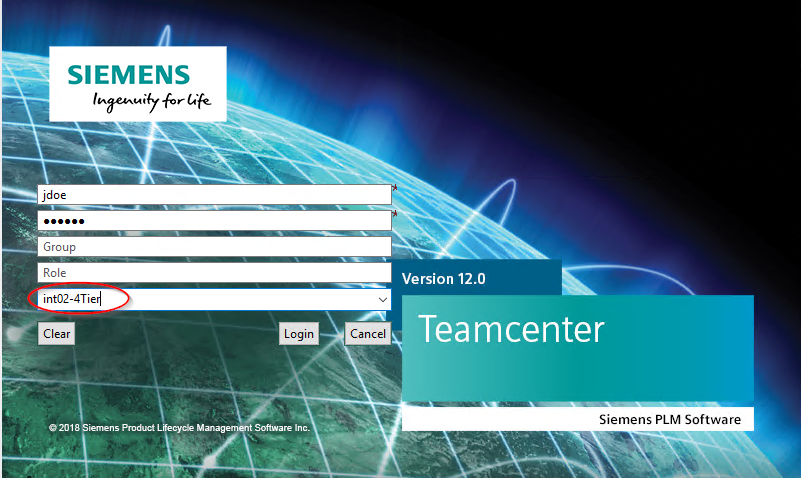
A login dialog appears in which you have to enter your username (here jdoe) and your password. Furthermore, you can select several environments for the integration client. The int02-4Tier environment is used for testing and training purposes and does not contain any migrated data.
Optionally, you can also enter a group and role that deviates from the default group. This is generally not used, as it is easy to change the group/role at any time after logging in.
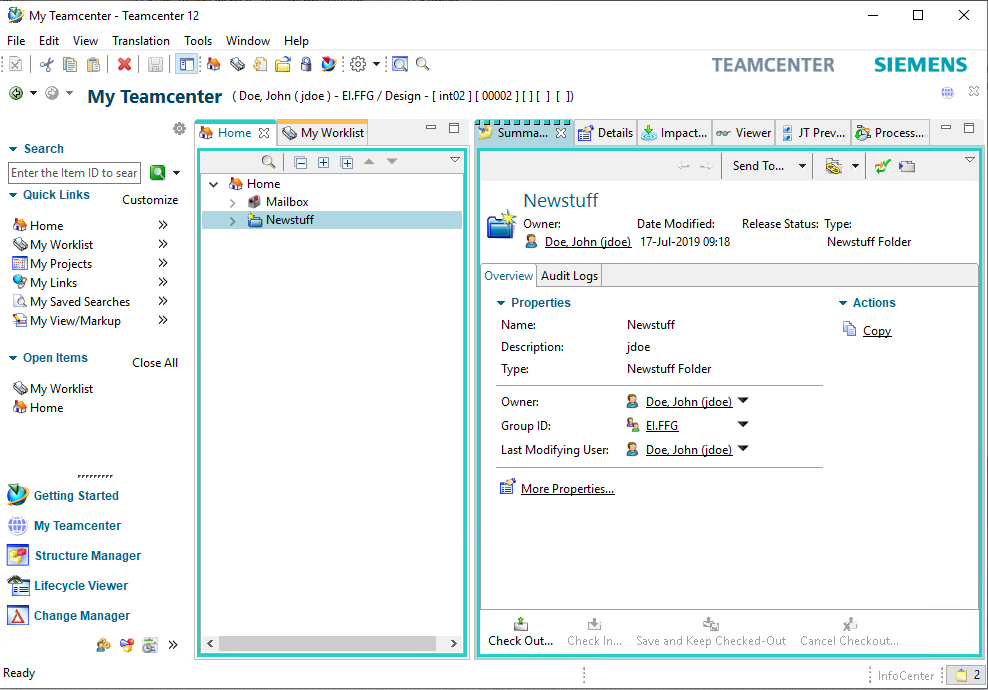
After logging in, you are in the application “My Teamcenter” or also called “Teamcenter Navigator”. There you have a “Home” folder in which you can store data in order to access it quickly.
1.2 Changing the password
If you have logged in to Teamcenter, you should change your initial password. Click on your name in the status bar.
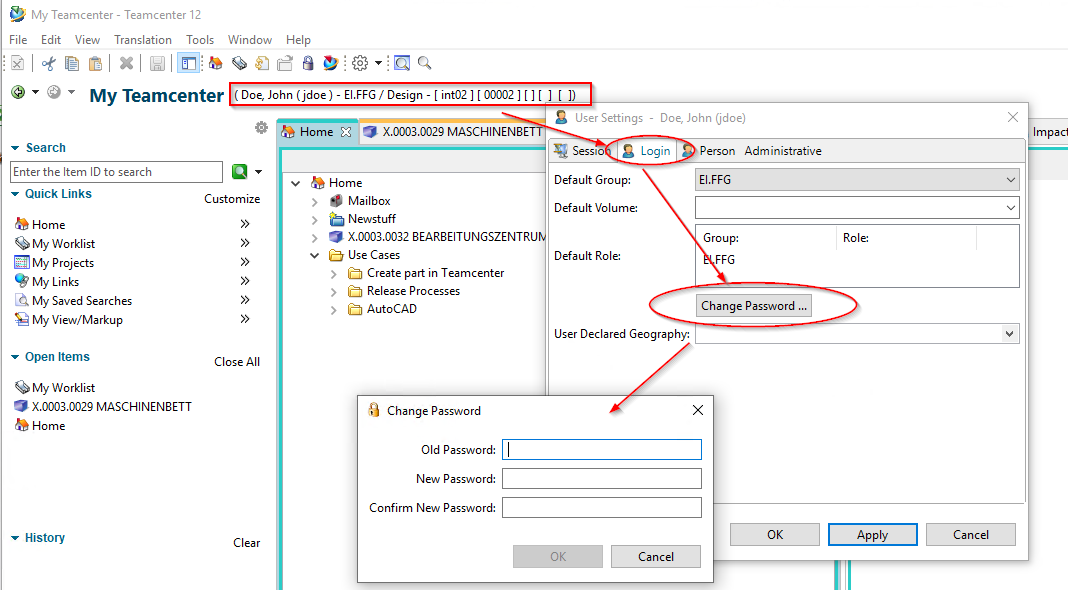
In the following dialog click on the “Login” tab and then on “Change Password”. You can now assign a new password and confirm with “OK”.
1.3 Setting of the project context
Teamcenter is configured at FFG so that parts can only be created in a “project context”. During the migration, the “EAC” data is migrated as a Teamcenter project, i.e. there are the projects “00002 (MAG-Intern”), etc. Each user is assigned to one or more projects, the parts then receive this project assignment, which in turn controls the visibility of the parts.
Each user must or can set the project context himself from the list of possible projects.
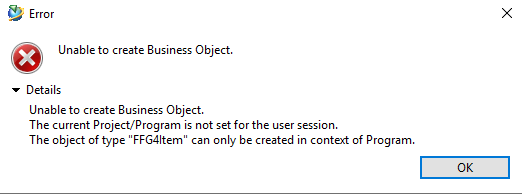
Tip: If the following message appears when creating a part, you have not set the project context.
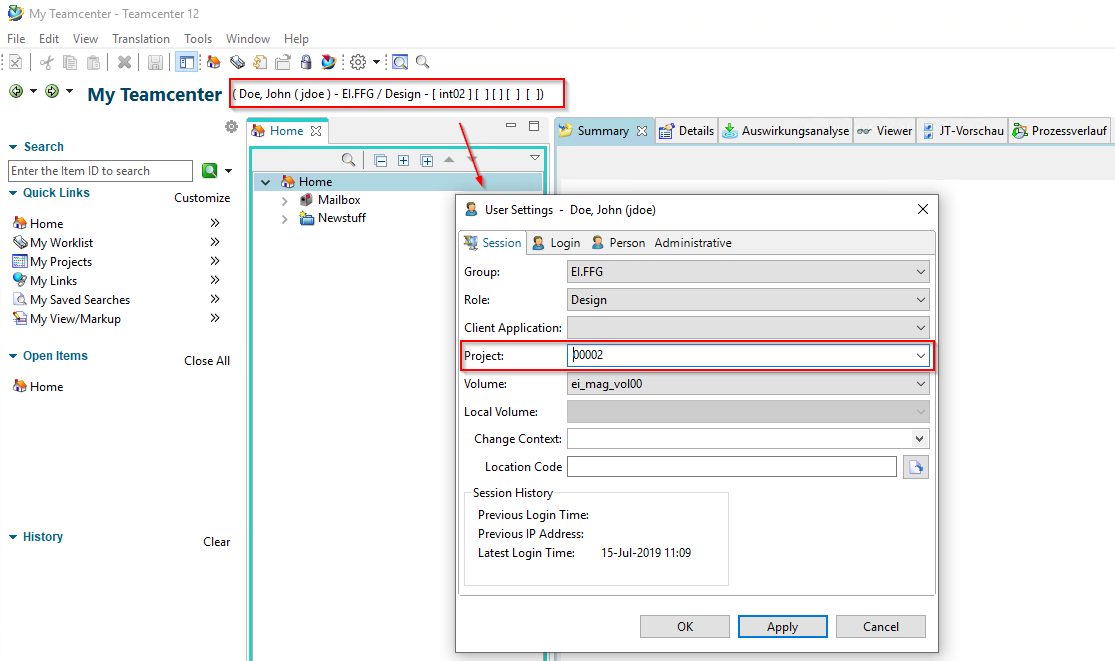
To set the project context, click on your name in the upper bar of the Teamcenter Navigator. In the following dialog you can select your current project under “Project”, in which you would like to work (“Project context”). The generated parts then receive exactly this project assignment.
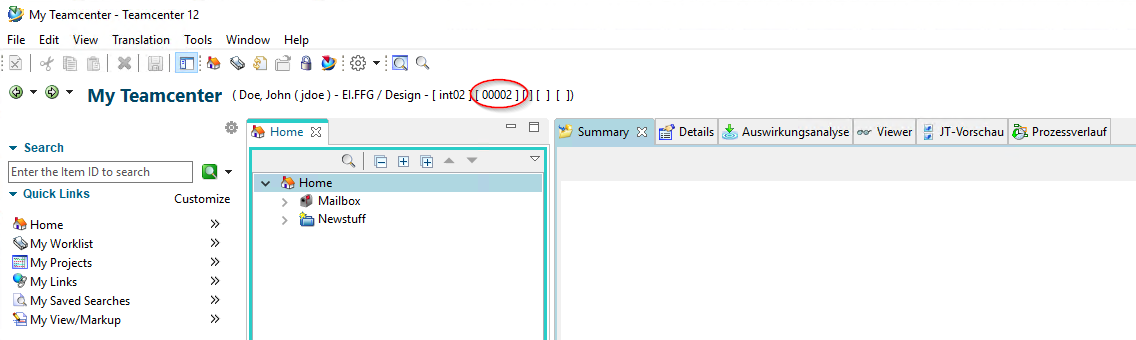
Press “OK”. The project context is now displayed in the status bar.
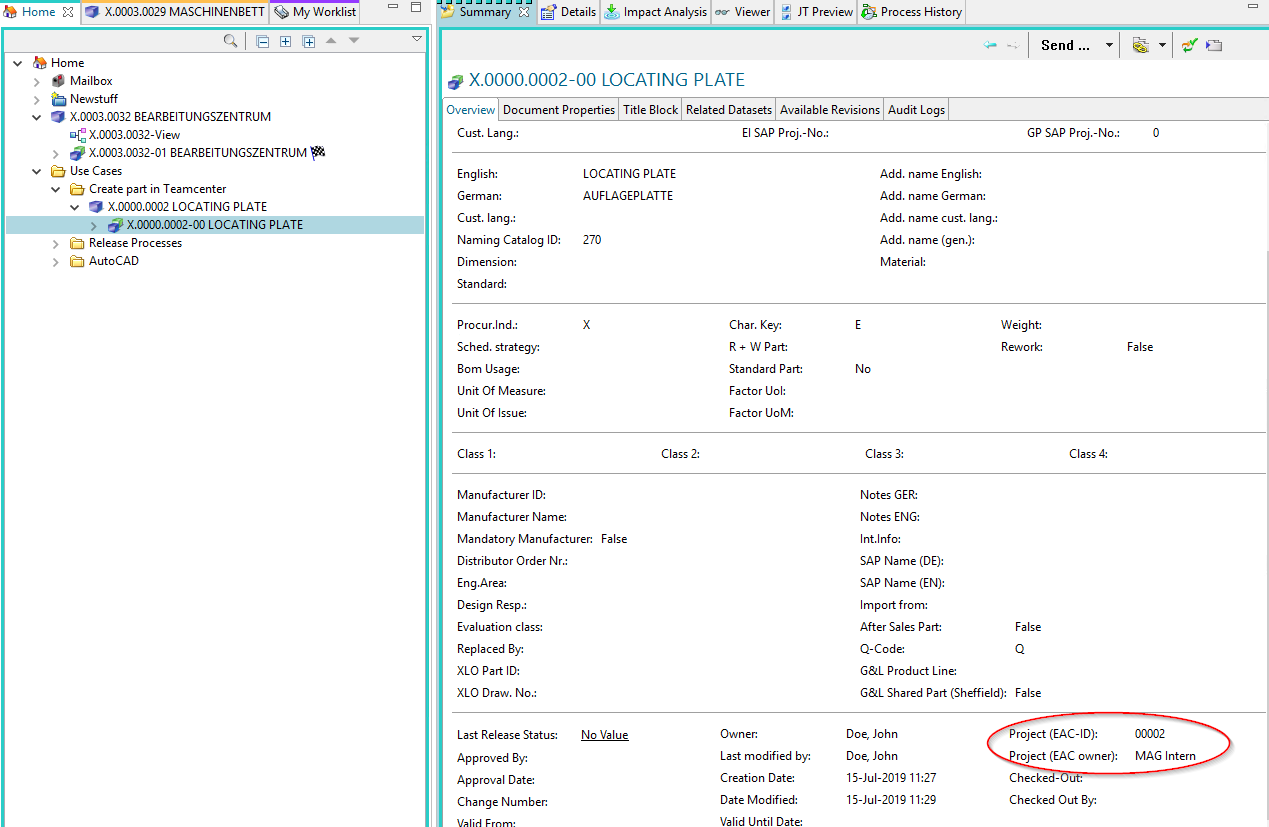
The project assignment of a part can be seen in the “Summary” tab of the revision at the bottom right.
Solid Edge
1. Solid Edge 2023 Update
Teamcenter Documentation
1. Overview
2. Teamcenter Basics
3. Working in Teamcenter
4. Working with CAD applications
5. Working with the structure manager
6. Workflows in Teamcenter
EPLAN - integrate2
1. Preamble
2. Function Description
3. Operating the Integration
4. Troubleshooting